A Mess Free Life may collect a share of sales or other compensation from the links on this page.
You love the color of your walls. They are a beautiful Nantucket Blue that matches the sky on a warm sunny day. It’s a peaceful and inviting color. It’s too bad your two-year-olds crayon masterpiece doesn’t match, not to mention the fingerprints near all the door handles that scream to be cleaned.
The walls are often an overlooked cleaning area because it seems like a daunting task, but it’s quite simple when you follow these tips and techniques for cleaning painted walls. Master these tips that professionals use and your walls will always look fresh and clean.
Table of Contents
Tips and Techniques for Cleaning Walls
The first step to cleaning painted walls is to assess what type of paint you have. Semi-gloss and glossy enamel paints wash well. Flat, satin and eggshell latex paints may fade or rub off with overly aggressive cleaning methods.
Whether it’s satin or flat, glossy or enamel, you’ll want to make sure you clean the surface with products and tools that won’t damage or strip the paint.
General Cleaning Tips
Lay towels, newspaper, or another absorbent material on the floor under your workspace to catch drips and keep the floor clean.
Always begin at the top of the wall and work your way down, alternating between the wet, soapy sponge and a clean sponge to rinse; each sponge should have its own bucket. Having a rinsing bucket filled with clean water is essential to ensure that dirt and grime won’t cling to the soapy residue; do not skip this step.
Rub in a gentle, circular motion to avoid damaging paint and make sure to wring out the sponges well to avoid drips. Work in sections, and once you’ve completed a section, dry the area with a clean, soft cloth.
1. For Dust
You can dust walls using one of three methods. Either use a lamb’s wool duster, a Swiffer on an extender pole or the bristle brush extension of your vacuum cleaner to remove dust and cobwebs from the wall.
Start at the top of the ceiling and work you way down the wall paying particular attention to corners where cobwebs typically start. Plan on doing this at least twice a year unless you have a home that attracts spiders or is especially dusty.
Be mindful in rooms where you run a ceiling fan. Dust typically collects on walls and ceilings quickly, and this task may need to be done more frequently.
2. For Grime
For everyday dirt, tackle it with a sponge and bucket of warm water mixed with a good squeeze of dishwashing liquid. Before you start, test wipe on an inconspicuous part of the wall. Your attempts at cleaning your walls could end up making things look worse if you wash walls that don’t hold up well to washing. Typically higher gloss paints tend to respond better than matte finishes and don’t leave streaks.
Once you know your walls can handle the cleaning, start at the top of the wall, working in sections of a few square feet at a time. Rinse with a clean damp sponge and wipe dry with a soft cloth.
3. For Crayon
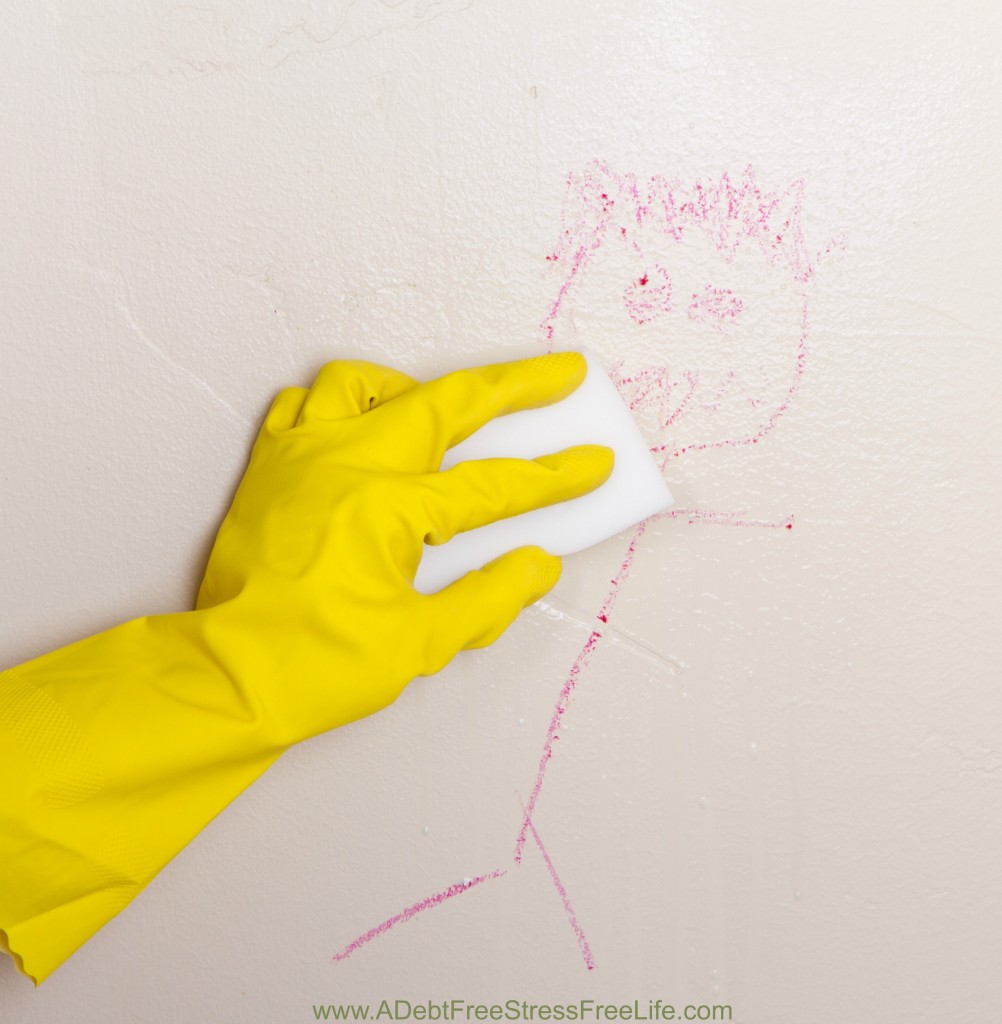
Don’t fret when your little Picasso displays his masterpiece on your living room wall. Just grab a Mr. Clean Sponge! Dampen the sponge and gently apply light pressure to avoid erasing the paint. You don’t want to scrub. Test first when in doubt to make sure you don’t end up with paint missing from the area.
4. For Fingerprints
When you’ve got fingerprints, food splatters, and other stains that end up on your wall, try using baby wipes to clean it up. Believe it or not, the folks at Benjamin Moore recommend using them as they are a cut above soap and water in stain fighting power.
But remember to be gentle when using them. Resist the urge to scrub or you might rub off the color of your paint or leave nasty streaks on the wall.
5. For Grease
If your walls don’t have a washable finish, try using a dry cleaning soot sponge. These types of sponges are effective on oil buildup. If the wall can be washed, you can use a solvent free degreasing spray to remove the grease.
For more on housekeeping and upkeep, read:
A Simple Method for Cleaning The Shower Liner
10 Tasks To A Clean and Clutter Free Morning
5 Cleaning Mistakes You Probably Made Last Time You Cleaned
12 Habits of People Who Always Have A Clean Home
Step-by-Step Guide To Weekly House Cleaning


