A Mess Free Life may collect a share of sales or other compensation from the links on this page.
An oven that smokes, cabinets covered in grease, walls splattered with food. Not really the way a kitchen should look and nothing about it invites you in to cook. Today’s the day we breath new life into that room and do some major spring cleaning of your kitchen!

Table of Contents
Spring Cleaning Your Kitchen
If you haven’t taken the time to get ready for this spring cleaning challenge, consider reading Strategies For Successful Spring Cleaning so you can adequately prepare your home by decluttering and then can concentrate on cleaning the kitchen.
- Before you get started, gather all of your supplies together. Preferably you have a well-stocked cleaning bucket, if not make sure you don’t have to go looking for anything.
- Reward yourself by ordering out dinner this way no one will mess up your spotless kitchen until at least the next morning.
- Listen to music, an audiobook, or a foreign language tape. Have something on that is enjoyable to you so the time passes more quickly.
Cleaning Resources: Creating Your Cleaning Bucket
What You Need:
- Vacuum with attachments
- Mop
- Small bucket with handle
- Swiffer with extender pole
- Cleaning cloths (microfiber, cotton)
- Sponges
- Scrub Brushes
- Your favorite cleaners
- Oven cleaner if you don’t have self-cleaning capability
- Shelf liners/drawer dividers
Cleaning Resources: The Best Cleaning Tools To Get The Job Done Fast
Let’s Get Cleaning
1. Dust Down The Ceiling and Walls, Spot Clean or Wash Walls
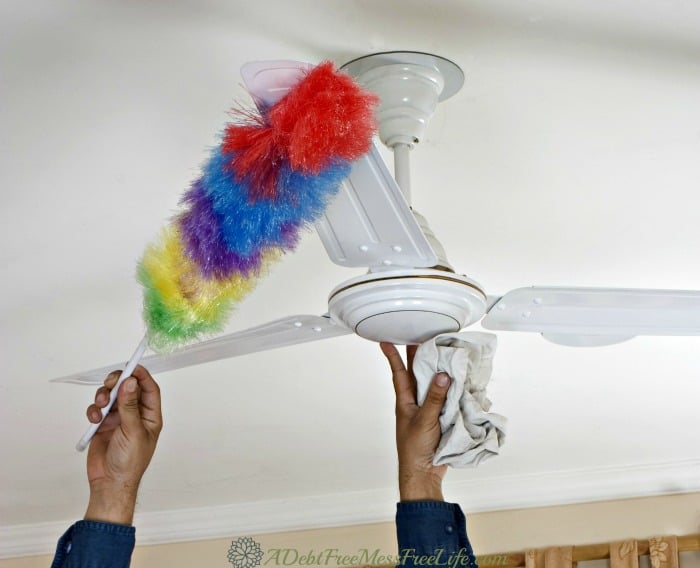
Using your Swiffer Extender Pole, dust ceilings, corners and walls. Determine if your walls need to be washed or just spot cleaned. Remember to wash air vents, doorknobs, doors, and switch plates. Walls will likely need to be washed more frequently in this room than any other. Pay attention to the places where people rest their hands. Be mindful of your painted back splash and remove the grease, grime and spilled food from these areas.
Cleaning Resources: Real Simple Tips and Techniques for Cleaning Painted Walls
2. Clean All Light Fixtures and Ceiling Fans
The kitchen ceiling fan always seems to be a little harder to clean because of the grease and food residue in the kitchen. Dawn dish detergent mixed with warm water is a great cleanser to use on ceiling fans because it will cut through the grease on the blades. Take down any other light fixtures and gently wash and dry them before replacing. Try using a fabric softener cloth to dust light bulbs and other areas where you don’t want to expose to chemicals or water.
3. Remove Window Treatments
Take down draperies, curtains, and blinds to wash or have cleaned according to the manufacturer’s directions. Vacuum and clean windowsills and corners. Wash the insides and outsides of the windows. Take down and rinse off screens, before replacing.
Cleaning Resources: How to Clean Windows Like A Professional
4. Dust and Clean All Wall Hangings
Use a microfiber cloth or your Swiffer to dust down art and photographs. Occasionally these items may need to be washed. Wipe down with a slightly damp rag, being careful not to let any liquid seep behind the frame and damage the photo. Remove the glass if possible and wash in warm water to remove grease, dirt, and debris. Thoroughly wipe dry before putting it back into the frame.
5. Clean Your Kitchen Cupboards
Clean the insides: First, remove all the contents of your cupboards and drawers. Use a disinfectant spray and a cloth to wipe inside. If your cabinets are not adequately organized, consider picking up some cheap dollar stores bins to divide and organize your cupboards.
Use an appropriate cleaner on your cupboard doors: For cabinet fronts, a bowl of warm, soapy water and a cloth is usually best, though solid wood doors may need a special cleaner.
Scrub down outer surfaces: Grab a step-ladder and wipe down the outside of your kitchen cupboards, any shelves, and the exhaust fan, if you have one.
Shine up the handles: If your cupboard handles are looking particularly greasy, remove them and soak in a bowl before wiping. You may want to polish wood and metal hand-pulls when dry to get them shining like new!
Put your belongings back, and rejuvenate: Once everything is put back and organized, consider polishing or Rejuvenating your cabinets. I do this once or twice a year, and it keeps my cabinets looking like new.
6. Clean Your Kitchen Appliances
To save time, use this method for cleaning your refrigerator and oven.
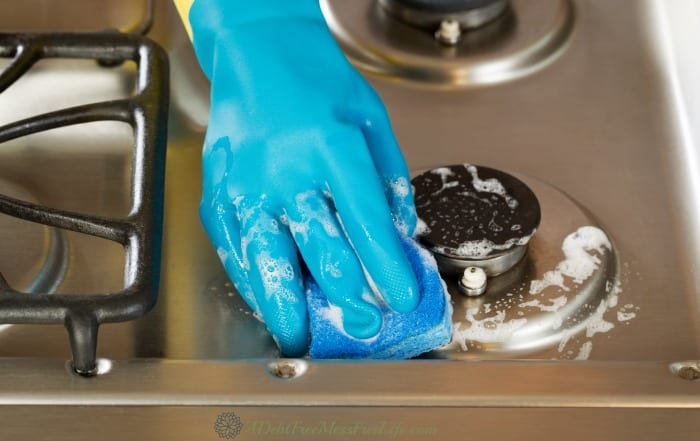
Apply cleaner to the oven: If you have a self-cleaning oven, you’ll begin the cycle and continue to the fridge. If not, unplug the stove. Take out the shelves, and spray oven cleaner inside the cooker and on the door, taking care that you wear gloves and keep the kitchen well-ventilated.
Scrub the stove top: Remove any stove top plates and put them in the oven, coating them with cleaner, too. Leave for at least 30 minutes.
Wipe down the top of the fridge: Spray with mild cleaners and wipe with a cloth.
Purge the fridge and freezer: Unplug the refrigerator and remove the contents of the fridge and any freezer compartment. Chuck out any unwanted or rotten food and keep perishable items, like meat and fish, in a cooler while you clean inside the appliance – they shouldn’t be outside of the fridge for more than 20-30 minutes.
Soak fridge shelves: I like to take out all the shelves and compartments and give them a quick clean in the dishwasher. It’s fast and easy. If you’d rather clean in the sink, you can soak them in soapy water.
Clean fridge walls: Inside the fridge, wipe down the walls with a mild anti-bacterial spray and a microfiber cloth.
Clean the fridge shelves: Wipe down the shelves that have been soaking, dry and replace, or remove from the dishwasher and replace. Reconnect the power and refill the fridge.
Soak oven parts: Return to the oven, putting the shelves and the stove top plates into the sink to soak.
Scrub the oven: Scrub the top and insides of the oven with a sponge. Crusted-on food may need a second application of cleaner.
Remove soap: Rinse the sponge and wipe the oven down with fresh water.
Scrub and clean the stove top plates and shelves in the sink and replace: Leave the door open to let the oven dry. Reconnect the power source.
Cleaning Resources: The Best Way To Clean Your Refrigerator
7. Clean Your Small Appliances
To deep clean smaller appliances, like the microwave, unplug first, then remove any detachable components and wash them separately in the sink. Microwaves can then be scrubbed inside and out to get rid of grease stains. If the spills in the microwave are stuck on, try to bring a water-filled glass cup to boiling in the microwave. The steam should help loosen the gunk. If the microwave smells, add lemon juice to the water. The coffee pot and toaster can also be wiped down with surface spray and a warm cloth. Follow my instructions for deep cleaning your coffee pot.
8. Clean Your Counters
Besides your coffee pot and toaster, you may have other items on your counter that need a cleaning. For example, your block knife holder; your utensil holder; the flour, sugar, coffee containers; maybe you have a rack for your onions, fruits, and garlic; cookbooks. Whatever else you have on your counters, give it a good wiping down, remove any grease, or dust and get it sparkling.
Wipe down your counters with a disinfectant and replace your items.
9. Clean Your Kitchen Tables, Chairs, Stools
Depending on what your chairs, stools and tables are made of will determine how they are cleaned. If wood, use a good wood cleaner. Use glass cleaner on the glass and a damp towel on metals and other surfaces to remove dust.
Cleaning Resources: How To Polish Wood Like A Pro
10. Final Tasks to Spring Cleaning Your Kitchen
Scrub the sink: Try to leave this job until after you’ve completed the rest of the kitchen. Then, clean it according to manufacturer’s instructions.
Clean the floor: Finally, sweep or vacuum the floors and fill a bucket with a diluted floor-cleaning solution. Mop the floor thoroughly and leave to dry.
Your kitchen is one of the most used rooms in your home and as such deserves a deep clean each spring. Once done, you’ll be able to step back and bask in the beauty of this room revived and ready for spring.


