A Mess Free Life may collect a share of sales or other compensation from the links on this page.
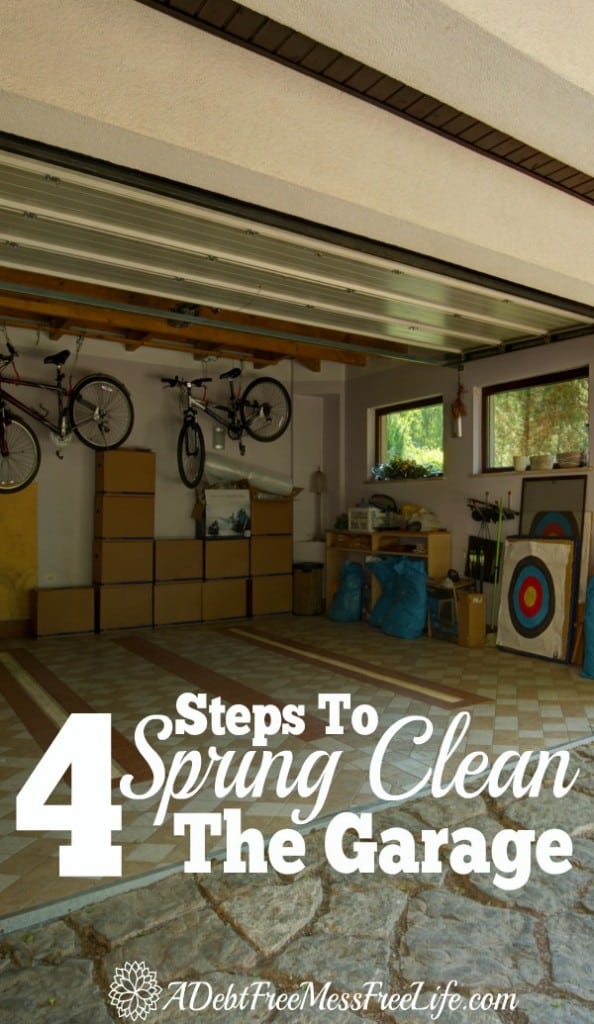
In a perfect world, the garage is where the greatest invention known to man is born, your son’s band plays rock and roll for hours, and you teach your kids how to change a flat. In real life, it’s where junk goes to die, and anything you’re not sure what to do with is sent to mold and gather dust. Does this space in your home resemble a glorified shed? Then it’s time to clean the garage!
Related Article: Create The Night Time Oasis You Deserve: Spring Clean Your Bedroom
It’s not spring time until you do!
Table of Contents
Spring Clean The Garage In 4 Easy Steps
Step 1 – Remove Everything
Take ever thing out of the garage. I know you don’t want to, but it’s the only way to see what’s in there and to figure out a better organizational plan for the stuff you’re going to keep.
When you’re emptying out the contents, start sorting and grouping items together.

Have a donate pile for all the things you don’t want but someone else might. Have a sell pile for the yard sale you’ll have next weekend once you’re done clearing the clutter and have a throwaway pile for all the junk you forgot was in there.
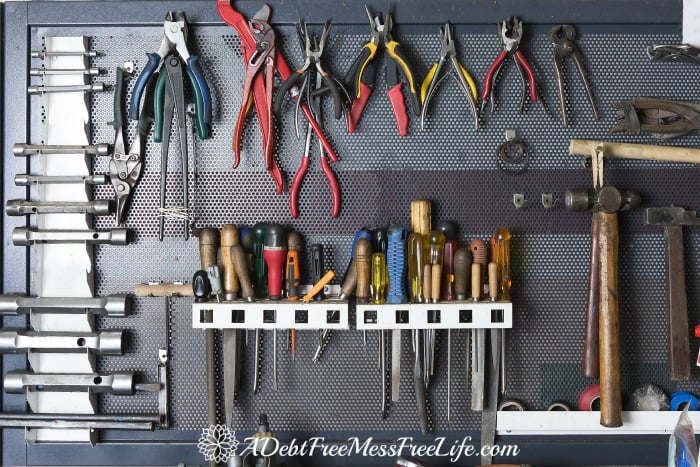
Besides these three piles, you’ll want to organize the contents your keeping in some way. So put tools with tools, kids toys together, yard equipment with other lawn devices – you get the picture, right?
Step 2 – Get Ready To Clean
Now that everything is out of the garage, has been sorted and is in their proper pile, it’s time to clean. This is the one room in the house that is often exempt for years from a thorough cleaning. Get everyone on board to help with this major chore, no reason to do it alone.
Grab your shop vac and start vacuuming up all the dust, dirt, grime, cobwebs and bugs hiding in the garage. This will take some time but don’t miss an inch of the gargage. Vacuum floors, ceilings, windows – do it all!
Once you’re done, it’s time to tackle the floor.
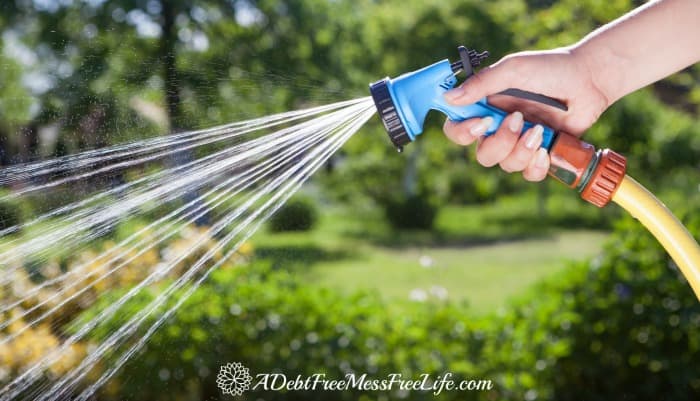
For this part of the chore; you’ll need a hose with a good nozzle, a push broom, and some Pinesol.
Just put a few puddles of pinesol down on the concrete, grab your hose, turn the spigot on full blast and starting from the back of the garage and hose down the floor moving water and debris out to the driveway. You might need to use the broom to get it out all the way.
Leave your garage door or the windows open overnight or until the water has dried.
Step 3 – Install Storage Units
You didn’t take everything out just to put it back in without some way to organize your stuff did you?
If you were a few of the lucky ones, you might have seen the Aldi special they had a few weeks ago on storage units. They had the 5 tier plastic shelving units for only $39.99 and the storage cabinets for $59.99.
Because I knew we’d be getting to cleaning out the garage, I purchased four shelving units and two storage cabinets.
Besides these shelving units and cabinets, you might need storage bins, hooks, bike racks to fully organize this space.
Now you’re going to decide how to organize your space, so nothing but your car or lawnmower is on the concrete.
Step 4 – Put Every Thing Back In
By now you’ve gone through the task of determining what goes and what stays. Try to be really diligent in this task and only keep those items you really want, use and love. If you have wrench you hate to use because the grip is off, get rid of it.
You only have so many square feet to work with in this garage space so make wise decisions and good use of it.
One last point, if you have windows in your garage or garage door, make sure to give them a good cleaning too!
Cleaning your garage will take you the weekend, but with the music on and a cold glass of your favorite beverage, it’s a task you will enjoy doing.
The end result will be a perfectly clean and organized garage space where you’ll easily be able to find what you need and have plenty of space for the cars.
