A Mess Free Life may collect a share of sales or other compensation from the links on this page.
Thanksgiving is my holiday. It’s the holiday where I am responsible for the turkey, where friends and family wait with bated breath for the presentation of the turkey.
A moist and succulent bird that literally melts in your mouth.
It’s taken me years to perfect the recipe I’m going to share with you today. I’ve tried many variations, changed up a few ingredients, soaked the bird for too little and too long. But what I have is ultimately the best turkey recipe ever.
Table of Contents
How To Cook A Moist and Delicious Turkey

Step 1: Choose the Right Turkey
People are picky about their bird. Some people prefer a fresh farm raised turkey while others have no problem with Butterball. Is there even a difference?
I don’t like the taste of a fresh farm raised bird as they taste gamey to me. But I think the choice of the bird matters little to the outcome. Brining puts all turkeys on the same playing field.
In my family, we choose hands down, ShadyBrook Farms. I’ve cooked ShadyBrook consistently for over ten years and would never choose another company.
Ultimately, you need to pick a bird you’re happy with. If that means a local farm raised bird – great. You decide.
Step 2: Choose the Right Container
a. Refrigerator Space: You need to have the space to brine a turkey. I have a second refrigerator in my basement where the bird goes to brine. It would never fit in my regular fridge. Figure out your plan of where you’ll brine your bird. If you don’t have space, you won’t be able to use this recipe.
b. Container: Because I brine a 24-26 pound bird, for years I’ve put the bird into garbage bags (heavy-duty) and placed them in a laundry basket with the brining solution and turkey. What a pain!
First, the thing was super heavy and required two people to move into the refrigerator. Second, it was hard to get the solution up and over the bird due to too much room in the basket.
What works even better is a milk crate. Almost everyone can get their hands on a sturdy, heavy-duty crate. It fits perfectly into the refrigerator too. You’ll use two heavy-duty clean garbage bags that will line the inside of the milk crate.
The bird fits snuggly inside the milk crate, and the solution will cover the turkey nicely.

Step 3: Choose The Right Brine
Remove the turkey from the wrapper and rinse with cold running water inside and out. Remove the neck, giblets, and liver from the cavity of the bird and either discard or reserve for the gravy. Place the turkey in the brining solution. Tie the bag closed with a clip or elastic bands. Place inside the refrigerator.
Brine Solution
- 2 cups salt
- 2 cups brown sugar
- 4 oranges, quartered
- 4 lemons, quartered
- 12 sprigs of fresh thyme
- 8 sprigs of fresh rosemary
- 4 sprigs of sage
To make the brining solution, dissolve the salt and sugar in 4 gallons of cold water in a nonreactive container (clean bucket, large stockpot, or heavy-duty plastic garbage bags.) Add the oranges, lemons, thyme, rosemary, and sage.
The solution will brine a 20-22 pound turkey. If your turkey is larger than this and you need more brine.Use 1/2 cup salt and 1/2 cup brown sugar for every additional gallon of water.
Step 4: Brine For The Correct Amount of Time
Most people will tell you not to brine for longer than 24 hours. Hogwash! I brine my turkey beginning on Tuesday night around 8 PM, and remove it from the brining solution at 6 AM on Thanksgiving morning.
You can try a shorter amount of time and see what you end up liking better. I would make some notations on the recipe from year to year so you can remember what you did.
Step 5: Cook With the Right Ingredients
Remove the turkey from the brine and rinse well under cold water. Do not skip this step. It’s important to remove all the solution from the bird. Pat dry the bird inside and out with paper towels.
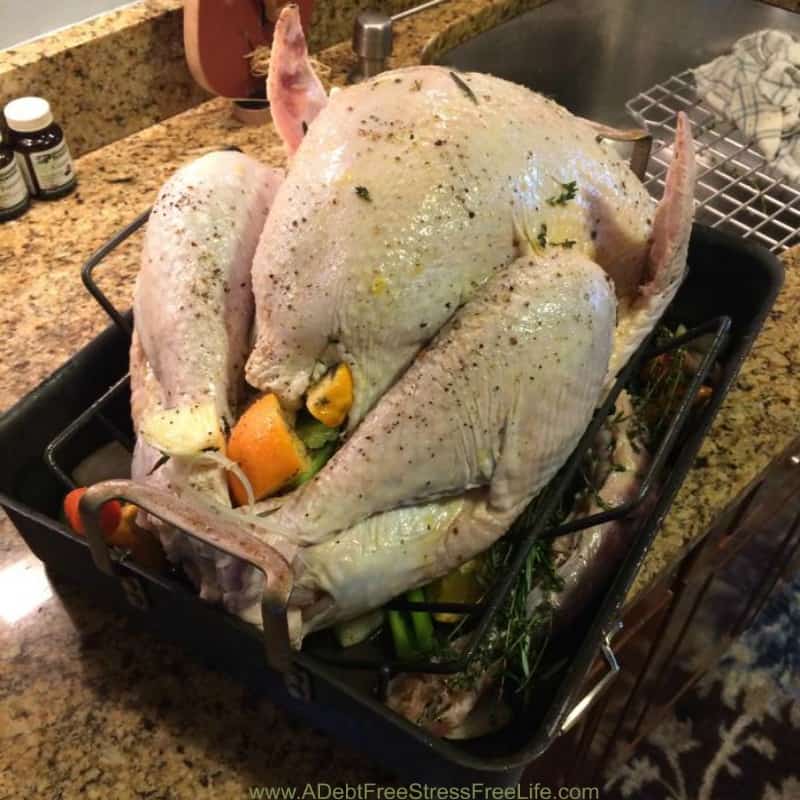
Place the bird in a roasting pan and rub the outside with olive oil. Lightly season the outside of the bird with salt and pepper. Put aside.
In a large bowl combine the following ingredients:
- 2 large yellow onions cut into 8ths
- 2 large oranges cut into 8ths
- 2 stalks of celery cut into one-inch pieces
- 2 carrots cut into one-inch pieces
- 4 bay leaves
- 4 sprigs of thyme
- 2 sprigs of sage
- 2 tablespoons of olive oil
- salt and pepper
- Mix making sure you coat the vegetables with olive oil
Stuff the turkey with the above mixture. Loosely tie the drumsticks together with kitchen string.
If it doesn’t all fit into the two cavities, throw the rest into the bottom of the pan to roast as it will add to the flavor of the gravy.
Step 6: Baste and Baste Again
Place the turkey in a roasting pan with a rack in a preheated 325-degree oven.

Roast the turkey uncovered until an instant-read thermometer registers 165 degrees F when inserted into the largest section of the thigh avoiding the bone. This will take anywhere from 4.5 to 6 hours depending on the size of your bird.

Baste every hour with 1 cup to 1 and 1/2 cups of turkey or chicken stock (not broth). Use the kind with the lowest amount of sodium or your gravy will be too salty.
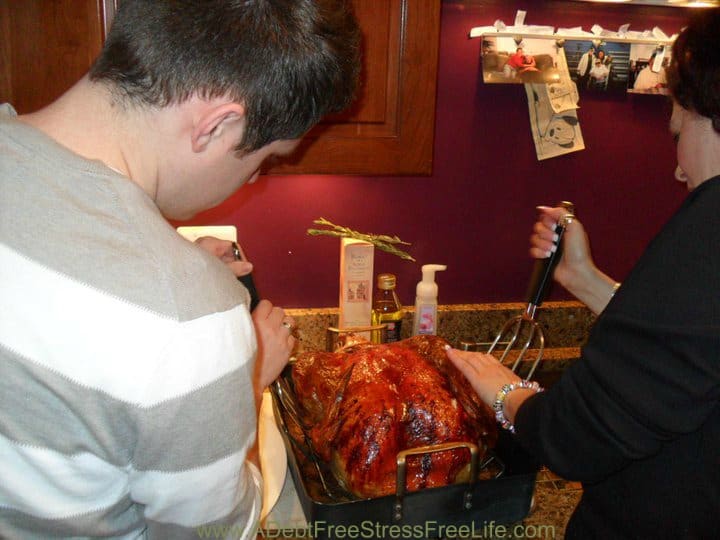
When finished roasting, remove from the oven and place on a platter. Tent with aluminum foil and let it rest for 60 minutes before carving.
Step 7: Make Your Gravy
If you have your gravy recipe, by all means, skip this step and use your own. If not, here’s how we do it.
Gravy Recipe
Pour the juices from the roasting pan into a fat separator. You can do this in a bowl, but this is much easier.

In a large heavy saucepan, melt 8 tablespoons of unsalted butter over medium heat. Stir in the flour and cook, stirring constantly to make a light roux. Add the hot stock, whisking constantly, then simmer until thickened, about 10 minutes. Adjust seasoning to taste and with salt and black pepper. Pour into a gravy boat and serve.
My family loves this recipe, and I’ll never cook a turkey any other way.
If you make this recipe this year, I’d love to hear how it turned out for you. I hope your bird comes out as moist and delicious as I know mine will!
Gobble, gobble!


