A Mess Free Life may collect a share of sales or other compensation from the links on this page.
Springtime is the perfect time to get your home in order. But one particular room probably needs more attention than any other. Because our kitchen is used so much, I’m going to share with you, my step by step plan on how to deep clean your kitchen.
Table of Contents
HOW TO DEEP CLEAN YOUR KITCHEN
More than likely on the surface your kitchen looks okay, but what if I were to look at all the nooks and crannies of your kitchen – would it be clean?
Because our kitchens are used three or more times a day, because of the endless cooking and baking that happens not to mention the snacks that are prepared and the dishes that accumulate, I know everyone’s kitchen can benefit from a twice a year of kitchen deep cleaning.
But where to start?
Luckily today’s checklist breaks down the process for you; section by section, so you can tackle it all at once (if you’re brave) or just a little at a time, without completely disrupting your kitchen. You can find the checklist in the Free Resource Library.
Don’t have the access code?
Sign up below and I’ll send it to you right away! But remember to check back often because I’m always adding new content.
Let’s get started and I’ll walk you through my system on how to deep clean your kitchen.
THE PRE-CLEAN
Before you dive in, let’s do a little de-cluttering. Go through your entire kitchen and remove anything that doesn’t belong there. This includes opening up the cabinets and drawers and getting rid of duplicates, broken kitchen utensils and anything you don’t like or don’t use.
Decide to either toss this stuff or move it to its proper place in the home.
Go through your cupboards and throw out expired food.
Remove anything that’s taking up space, you don’t use any longer or has missing or broken parts. Either toss, donate or put aside to sell at your next yard sale.
Read: A Step by Step Guide For Getting The Most Cash At Your Yard Sale
ORGANIZE THE PANTRY:
Take out all food & place on table or countertop.
Check labels – toss items that are expired, stale, empty, or no longer edible.
Wipe down all shelves with soapy water or multipurpose cleaner.
Arrange food like you would see in a grocery store; like items together oldest in front.
Create a separate area for open items.
Set up a donation bag for food your family won’t eat and hasn’t expired.
Read more: Day 3: Assess and Organize Your Pantry
CLEAN AND ORGANIZE REMAINING CUPBOARDS
Remove all items from remaining cabinets and place on countertop or kitchen table.
As you remove items, toss or donate any items that are broken, unwanted, unnecessary, or that you haven’t used in over a year.
Remove seasonal items that only get used once or twice a year.
Wipe down all shelves with soapy water or kitchen cleaner.
Rearrange any of your storage areas to make your kitchen more efficient.
Group like items together and place back in cupboards.
Drop off donation items as soon as possible.
Move seasonal items to the storage area.
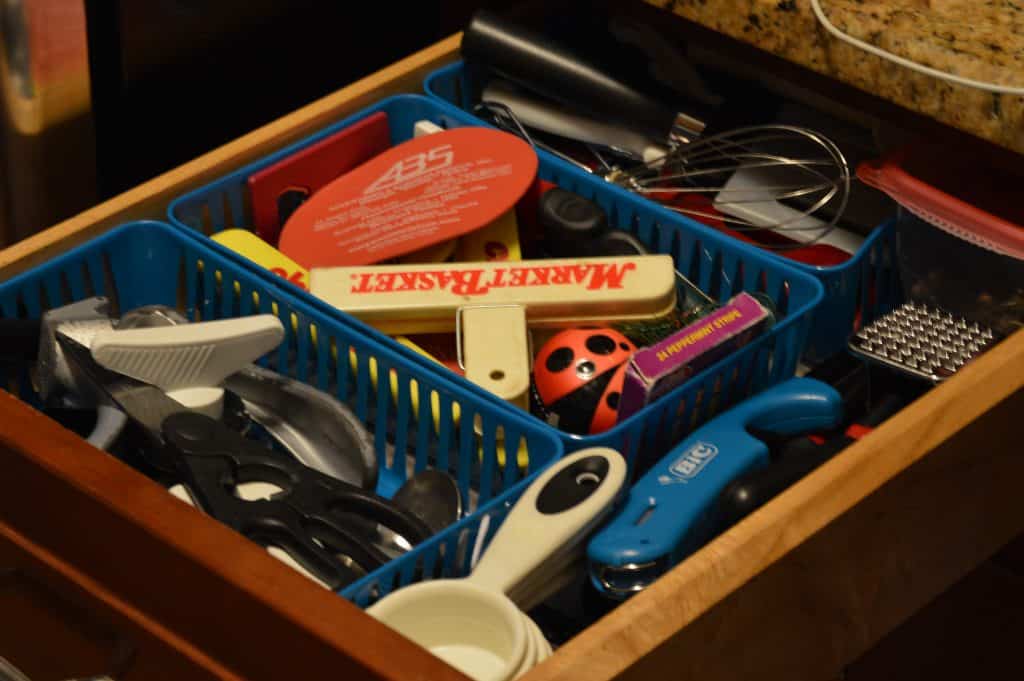
CLEAN AND ORGANIZE DRAWERS
Remove all items from drawers and place on countertop or kitchen table.
As you remove items, toss or donate any items that are broken, unwanted, unnecessary, or that you haven’t used in over a year.
Remove seasonal items that only get used once or twice a year.
Wipe down all drawers with soapy water or multipurpose cleaner.
Wash any drawer organizers.
Rearrange any of your storage areas to make your kitchen more efficient.
Group like items together and place back in drawers.
Put seasonal items in storage.
Drop off donation items as soon as possible.
CLEAN LIGHT FIXTURES
First, shut off any light fixture you’re about to clean. Cut power to the source.
Remove all glass and clean.
Dust fan blades if you have a ceiling fan.
Dust light bulbs (use a dry cloth only).
Wipe down any other surface to remove dust. If your fixture is not that dirty, a Swiffer works very well to accomplish this task.
Replace glass, give final wipe.
Read More: What Is The Best Way To Spring Clean Living Spaces?
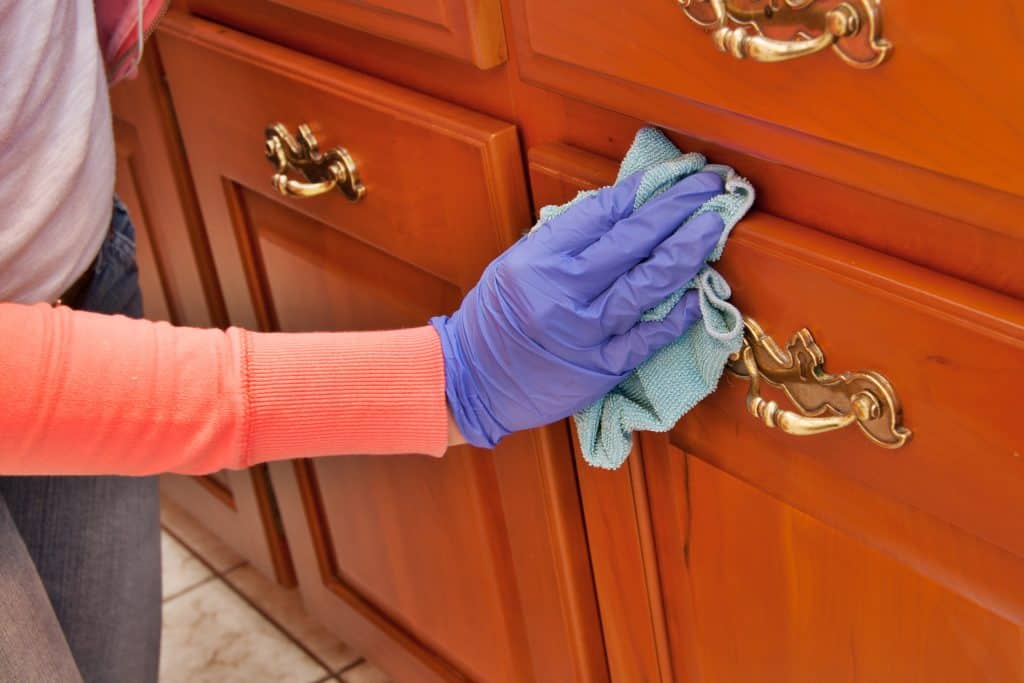
CLEAN CABINET FRONTS and SURFACES
Use an appropriate cleaner on your cupboard doors: For cabinet fronts, a bowl of warm, soapy water and a cloth is usually best, though solid wood doors may need a special cleaner.
Scrub down outer surfaces: Grab a step-ladder and wipe down the outside of your kitchen cupboards, any shelves, and the exhaust fan, if you have one.
Shine up the handles: If your cabinet handles are looking particularly greasy, remove them and soak in a bowl before wiping. You may want to polish wood and metal hand-pulls when dry to get them shining like new!
Rejuvenate: Consider polishing or Rejuvenating your cabinets. I do this once or twice a year, and it keeps my cabinets looking like new.
Clean the wall space under the cabinets: You may have granite, tile or just painted or papered wall. Use the appropriate solution for your type of situation. If you have things hanging under your cabinets (i.e., pictures, hooks, etc.) remove them first, clean properly and put back once the area has been cleaned.
Pictures, wall hangings: Clean the glass on all photos, wipe down and remove any dust on any wall hangings.
CLEAN KITCHEN APPLIANCES
The biggest cleaning jobs in the kitchen are usually the oven and refrigerator, but if you deep clean these together, you can save a lot of time and energy.
Apply cleaner to the oven: If you have a self-cleaning oven, you’ll start the cycle and continue to the refrigerator. If not, unplug the stove. Take out the shelves, and spray oven cleaner inside the cooker and on the door, taking care that you wear gloves and keep the kitchen well-ventilated.
Scrub the stove top: Remove any stove top plates and place them in the oven, coating them with cleaner, too. Leave for at least 30 minutes.
Wipe down the top of the fridge: Spray with mild cleaners and wipe with a cloth.
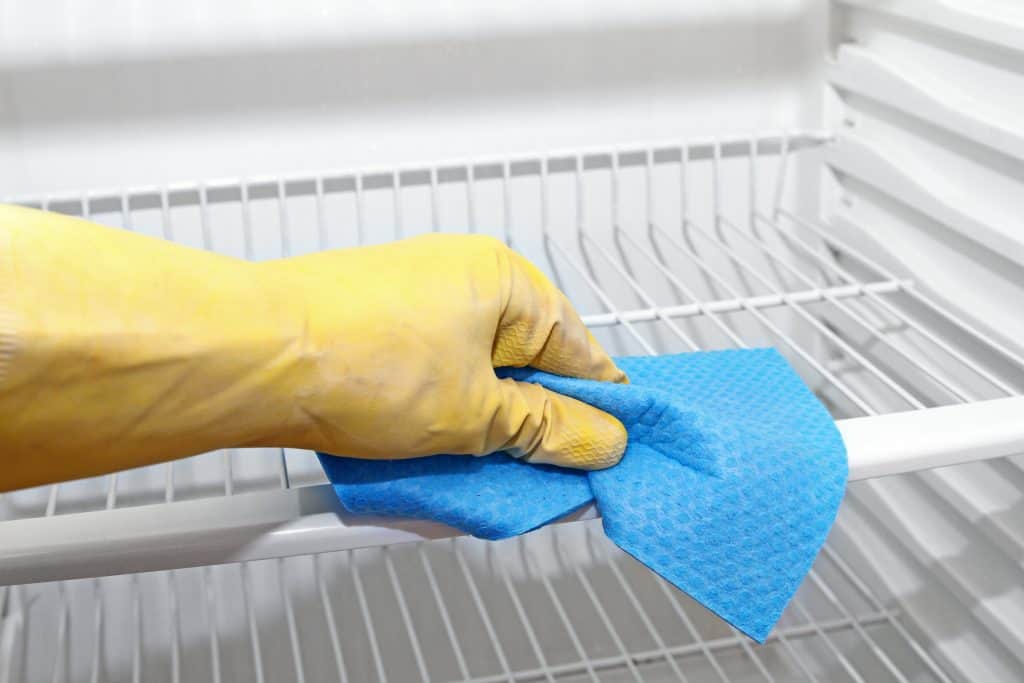
Purge the fridge and freezer: Unplug the refrigerator and remove the contents of the fridge and any freezer compartment. Chuck out any unwanted or rotten food and keep perishable items, like meat and fish, in a cooler while you clean inside the appliance – they shouldn’t be outside of the fridge for more than 20-30 minutes.
Soak fridge shelves: I like to take out all the shelves and compartments and give them a quick clean in the dishwasher. It’s fast and easy. If you’d rather clean in the sink, you can soak them in soapy water.
Clean fridge walls: Inside the fridge, wipe down the walls with a mild anti-bacterial spray and a microfiber cloth.
Clean the refrigerator shelves: Wipe down the shelves that have been soaking, dry and replace, or remove from the dishwasher and replace. Reconnect the power and refill the fridge.
Soak oven parts. Return to the oven, putting the shelves and the stove top plates into the sink to soak.
Scrub the oven: Scrub the top and insides of the oven with a sponge. Crusted-on food may need a second application of cleaner.
Remove soap: Rinse the sponge and wipe the oven down with clean water.
Scrub and clean the stove top plates and shelves in the sink and replace: Leave the door open to let the oven dry. Reconnect the power source.
Read More: Day 4: Clean and Organize The Refrigerator and Freezer
CLEAN SMALL KITCHEN APPLIANCES
To deep clean smaller appliances, like the microwave, remove any detachable components and wash them separately in the sink. Microwaves can then be scrubbed inside and out to get rid of grease stains. The coffee pot and toaster can also be wiped down with surface spray and a warm cloth.
CLEAN COUNTERS
Besides your coffee pot and toaster, you may have other items on your counter that need a cleaning. For example, your block knife holder; your utensil holder; the flour, sugar, coffee containers; maybe you have a rack for your onions, fruits, and garlic; cookbooks. Whatever else you have on your counters, give it a good wiping down, remove any grease, or dust and get it sparkling.
Wipe down your counters with a disinfectant and replace your items.
CLEAN KITCHEN TABLE, CHAIRS, AND STOOLS
If wood, use a good wood cleaner. More detailed instructions for polishing wood furniture can be found in my article, How To Polish Wood Like A Pro.
Use glass cleaner on the glass and a damp towel on metals and other surfaces to remove dust
FINAL TASKS
Scrub the sink: Try to leave this job until after you’ve completed the rest of the kitchen. Then, clean it according to manufacturer’s instructions.
Clean the floor: Finally, sweep or vacuum the floors and fill a bucket with a diluted floor-cleaning solution. Mop the floor thoroughly and leave to dry.
Read more: The Correct Way To Clean Floors
That’s it! You’ve successfully deep cleaned your kitchen from top to bottom.
I know it probably took the greater part of the entire day, but this is the room you cook in, guests flock to, and it’s the center of most households.
Now, it’s ready for all of it!
Need more Spring Cleaning tutorials?
Tip Top Spring Cleaning Secrets You Need To Know {With Free Printables Too}

