A Mess Free Life may collect a share of sales or other compensation from the links on this page.
Ok, admit it. You never clean your cleaning tools, do you? Well, you’re not alone. Most of us get so caught up in the actual task of cleaning; we forget our cleaning tools need a little attention too.
Just because your tools are used for cleaning doesn’t mean they clean themselves. In fact, cleaning tools can harbor all sorts of nastiness like bacteria, dirt, odors, and general grossness. If you want to get the most life out of your cleaning tools, you’ll need to take the time to maintain them and well, clean them too.
Table of Contents
How To Clean Your Cleaning Tools
We’re going to start off with my least favorite tool cleaning job – brushes.
Brushes – Toilet Brushes, Scrub Brushes, Cleaning Toothbrushes
I’m just going to come right out and tell you I hate toilet brushes and I don’t own any. They are a nasty device that harbors feces, germs, bacteria and other disgustingness. I never have to clean my toilet brush because I use a disposable toilet cleaning solution.
If you are unfortunate enough to own a toilet brush, my first piece of advice is to get rid of it. If you don’t like that idea, throw it away and buy a new one. If you don’t like that idea, here’s how to clean it:
In your bucket or utility sink, fill it with warm water and add 1/2 cup of OXY powder. Stir well to dissolve the powder and add your tools. This will not only break the bond between dirt and tool, but it whitens, disinfects (it will kill everything) and deodorizes. or you is oxygen bleach, and I prefer it to chlorine bleach but if you prefer chlorine bleach that’s fine too.
Finish off by leaving them to dry by hanging them from a hook or leave them on an old towel to absorb excess liquid. Brushes should be rinsed after every use and cleaned monthly.
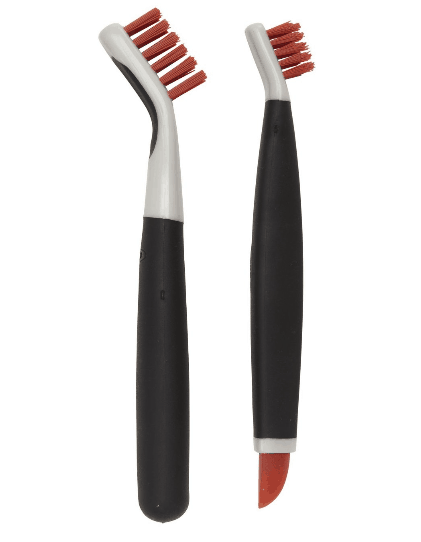
OXO Good Grips Deep Clean Brush Set
Sponges
First off if you’re old school and put your sponges in the dishwasher I have a news flash for you -if you’re not using the sanitizing cycle you’re accomplishing nothing.
Maybe you like to microwave the sponge? Ok, after careful consideration let me tell you why I hate this method by asking you a question. Do you really want to put that dirty nasty sponge in your clean microwave where you nuke food? Think about it. Food – nasty sponge. Personally, I’d skip this method of cleaning too, but I know some of you love the idea of cleaning your sponges this way.
If you do decide to nuke it, make sure the sponge has no metal on it, or you’ll start a fire and possibly burn your house down. Second, make sure you don’t touch the sponge after it’s been microwaved on high for 1-2 minutes as it will be scorching hot and could severely burn you.
Ok, now that I’ve sufficiently bummed you out on that front let’s me tell you how to clean your sponges.
Soak the sponge in hot water to which you’ve added 1 Tablespoon of OXY Powder. Soak the sponge until the water has cooled, approximately 30 minutes. During this time the debris in the sponge will soak out and lose some of its discolorations. Rinse it well and stand sponge up to dry or prop it up on something so it’s not laying flat and can’t air dry. Replace your sponge when the scrub side is worn down. You should consider cleaning your sponge about once a week.
Read: 12 Cleaning Hacks That Don’t Work & Are Just Plain Ridiculous
11 Professional Cleaning Tips and Tricks That Save Time
Cleaning Mistakes You Made Last Time You Cleaned
Rags and Cloths
Regular cloths, rags, old tee-shirts and towels, cotton cleaning cloths and hock towels can be washed with hot water, regular detergent and bleach. You can add a half a cup of baking soda as well to brighten and deodorize. For really greasy rags, try washing them with a can of Coke!
Microfiber cloths are designed to hold an electrostatic charge, therefore if they are washed with any fabric softener ( designed to reduce static cling) or a dryer sheet, you’re in trouble. The strands become clogged, and suddenly the cloth doesn’t dust or buff the way they used to and leaves streaks everywhere. They have been rendered useless and should be tossed.
When cleaning Micro Fiber Cloth, add a bit of laundry detergent to the wash, and place them in the dryer without anything to dry, or hang them to dry. They can be washed up to 500 times as long as you launder them appropriately before they no longer do their job. Never use microfiber cloths for jobs that are really dirty or greasy, and never to apply any wax, paste or polish. There’s no way to get oil and grease out of microfiber and you end up ruining them if you do.
Mops and brooms
String mop heads should be laundered in hot water with detergent and either Oxy Clean or a splash of bleach and then hung to dry. Before washing, remove any debris or trapped dirt by hand since you want to keep as much of this out of the wash as possible. If you have multiple mop heads, wash each one in an old pair of pantyhose to avoid them getting tangled up.
Flathead mops are essential microfiber cloths and should be laundered as stated above. Remember NO fabric softener or dryer sheets allowed! Wash flat head mops after use.
You can remove the broom portion from the broomstick if it is threaded and place it in your bucket alongside your cleaning brushes (see above). Remove debris ahead of time just like you would your brushes. Corn brooms can be brushed out, and should not be washed or gotten wet. Clean your broom every couple of months.
Vacuum
Since every vacuum brand and model are different, please refer you to your vacuum’s owner user guide for instructions on cleaning your vacuum. However, there are a few general tips on keeping your vacuum maintained.
Empty the canister after each use. Don’t allow the canister to get so full that it causes your vacuum to overheat and clog up the filter.
If you have a bagged vacuum system, replace the bag once it full with a fresh bag. Don’t overfill it or you run the risk of running the machine.
Every three months remove the filters and clean them. Remove the filter, run it under hot water and use a bit of dish soap to clean it. Rinse well until the water runs clear and then leave it to dry for at least 24 hours. If you replace it when it is wet, you’ll wreck your vacuum.
The powerhead can be cleaned by simply using a pair of scissors to cut out string or hair that has inevitably been wrapped around the vacuum’s rotating brushes. Check for hair and strands every month or so.
Cleaning the tools and attachments are simple: wash with soapy water, rinse well and let dry for at least 24 hours before using. Do this twice a year.
Read: 8 Steps To Cleaning Windows Perfectly
7 Cleaning Mistakes Almost Everybody Makes
Feather and Lambs Wool Dusters
I am not a fan of Feather or Lambs Wool Dusters but if you are, here’s how to clean them.
So to clean a feather duster, take it outside and shake it until most if not all of the dust has been removed. If you have more than just dust caught in it, fill a bucket with warm water and add a couple of drops of dish soap. Dunk the duster in and swish it around. Then, gently wring it out (don’t rip out any feathers) and run under warm water until the water runs clear. Hang it to dry. When it is dry fluff up the feathers with your hand.
For a lambs wool duster, treat is essentially the same way. Take it outside and shake off (spin the handle between the palms of your hand, while the duster is upside down) to shake off any dust. For a more thorough clean, wash as you would for a feather duster. Let it air dry and when it has, spin it between your palms (upside down again) to restore its shape. If you want to restore the natural oils, you can replace the ‘soapy’ water with a teaspoon of vegetable glycerin and wash as suggested above.
Dusting tools can be cleaned every 3-6 months depending on the frequency of use.
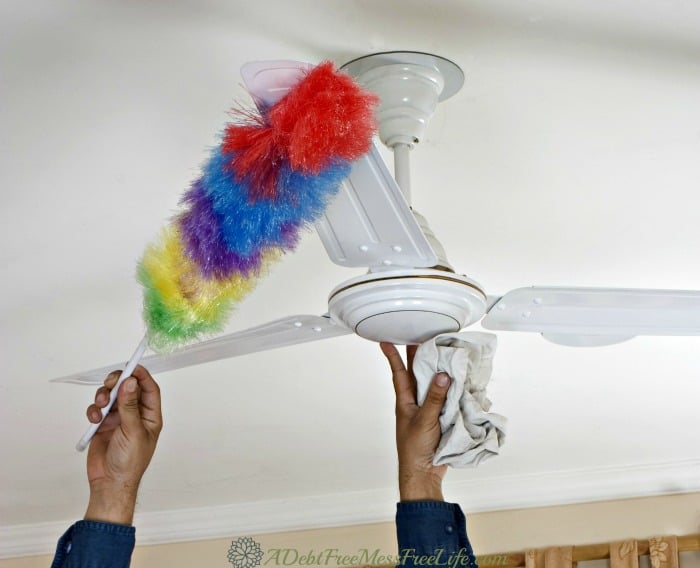
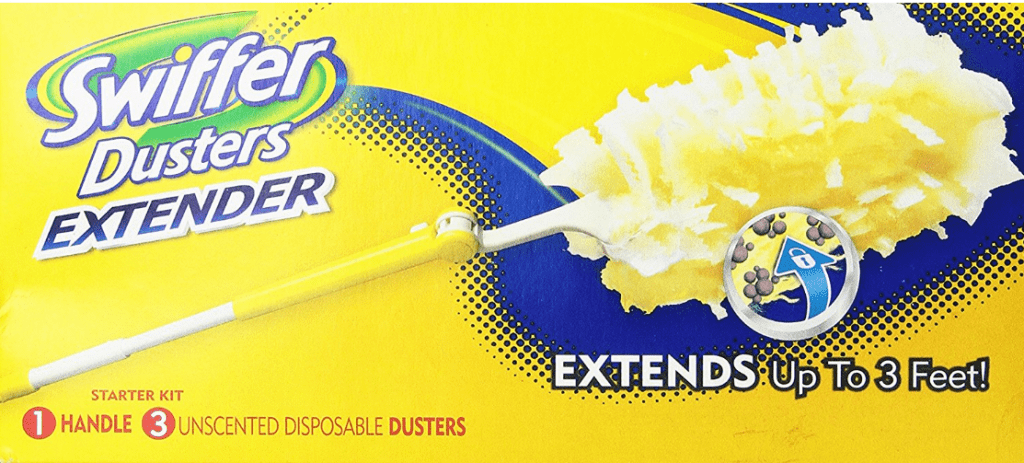
A good alternative to feather dusters and lambs wool dusters?
Swiffer 360 Dusters Extender Kit
Remember your cleaning tools need a good cleaning too! Use this guide to help you remember when it’s time to clean your cleaning tools.
Did you enjoy this article? Here are a few reader favorites!
Top Ten Spring Cleaning Tips from A Professional House Cleaner
One Professional Cleaning Trick That Will Keep Your Shower and Tub Clean For Six Months
63 Things You Should Be Cleaning But Aren’t
